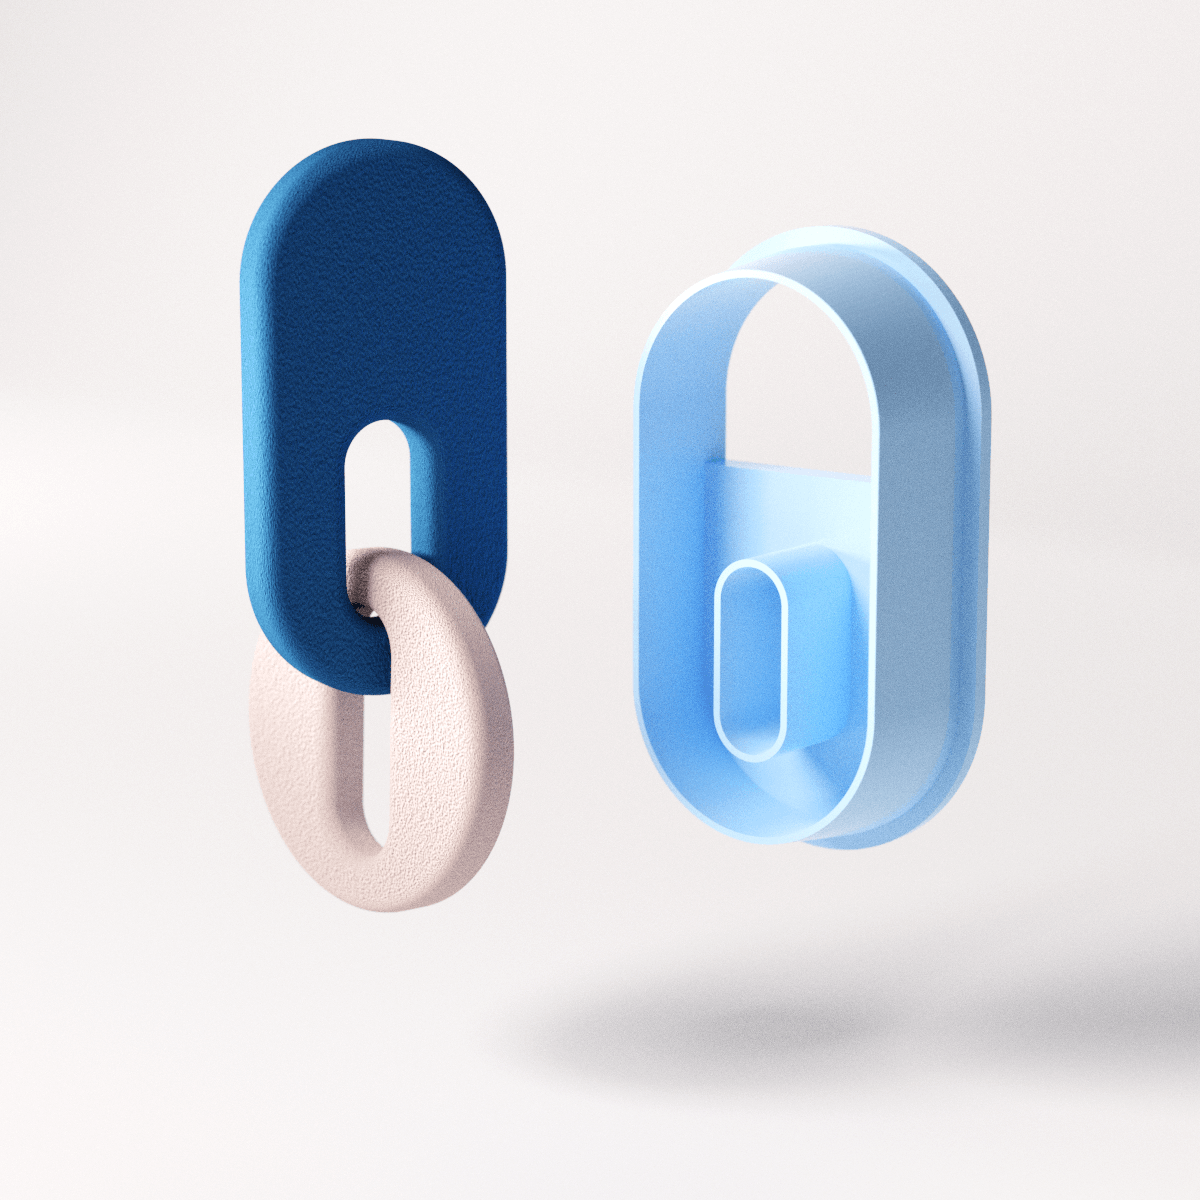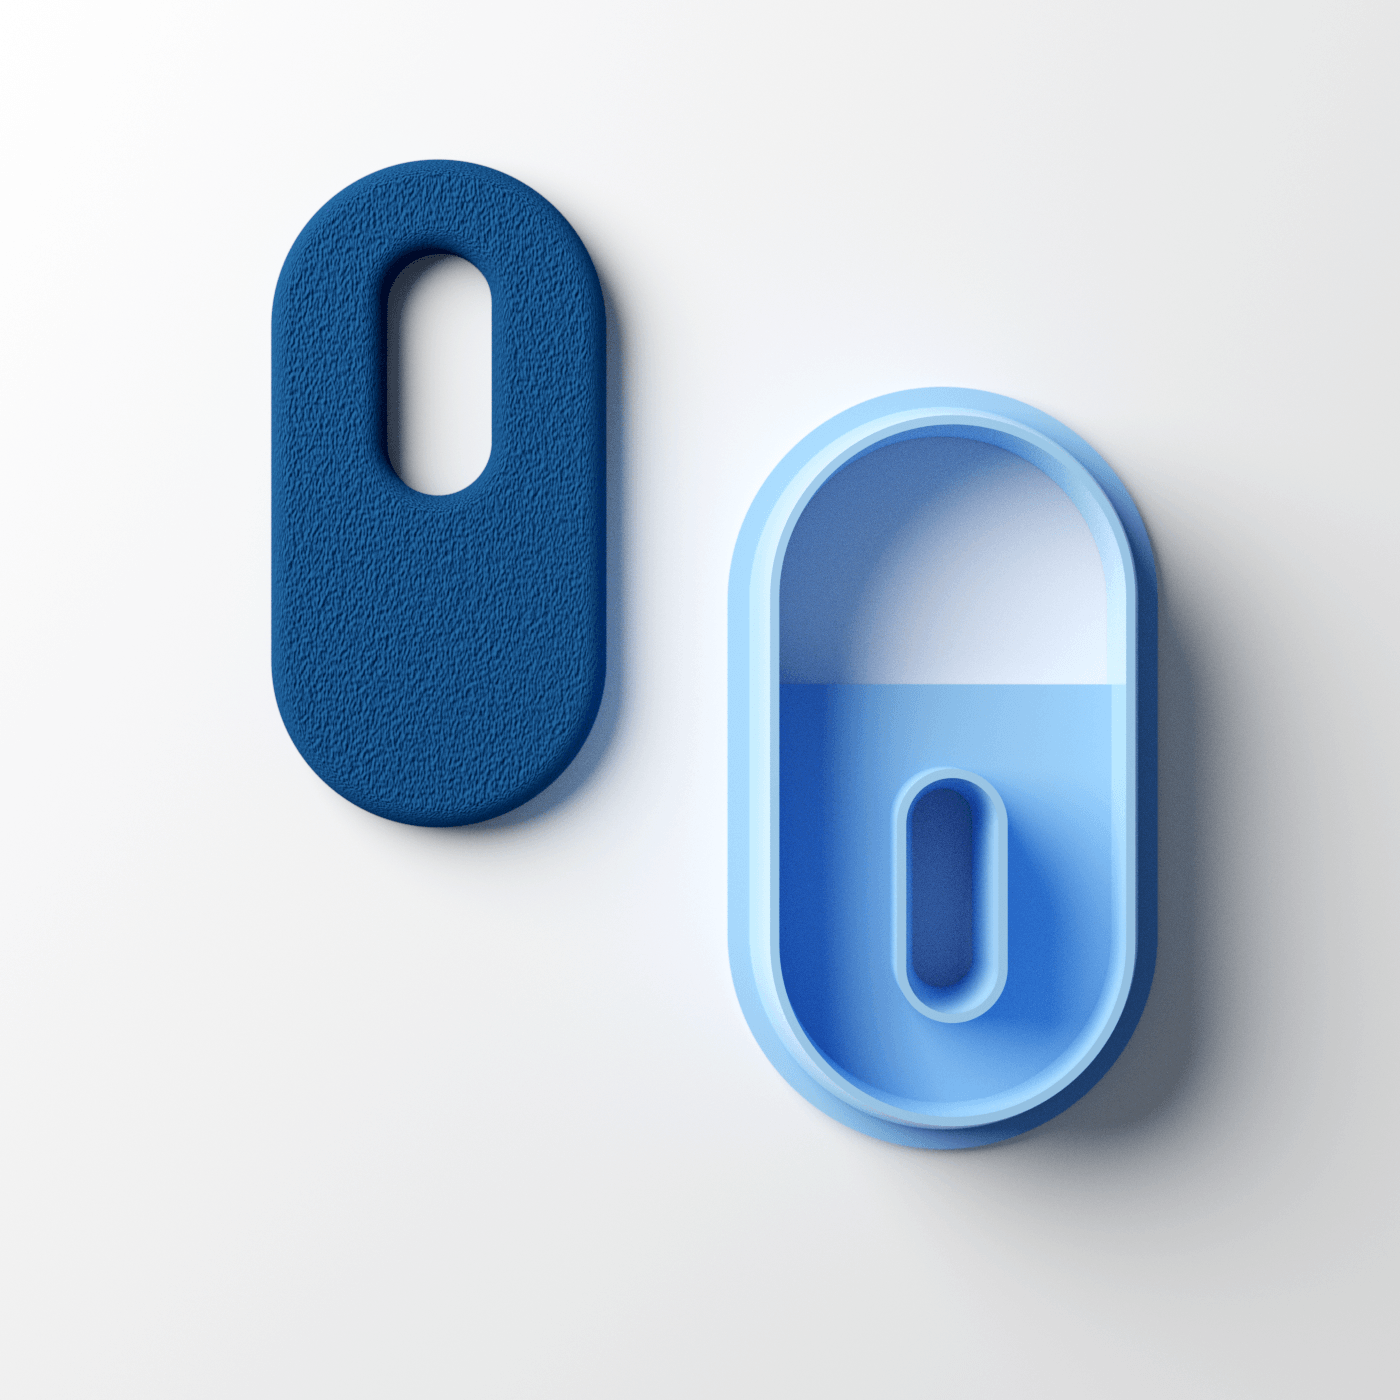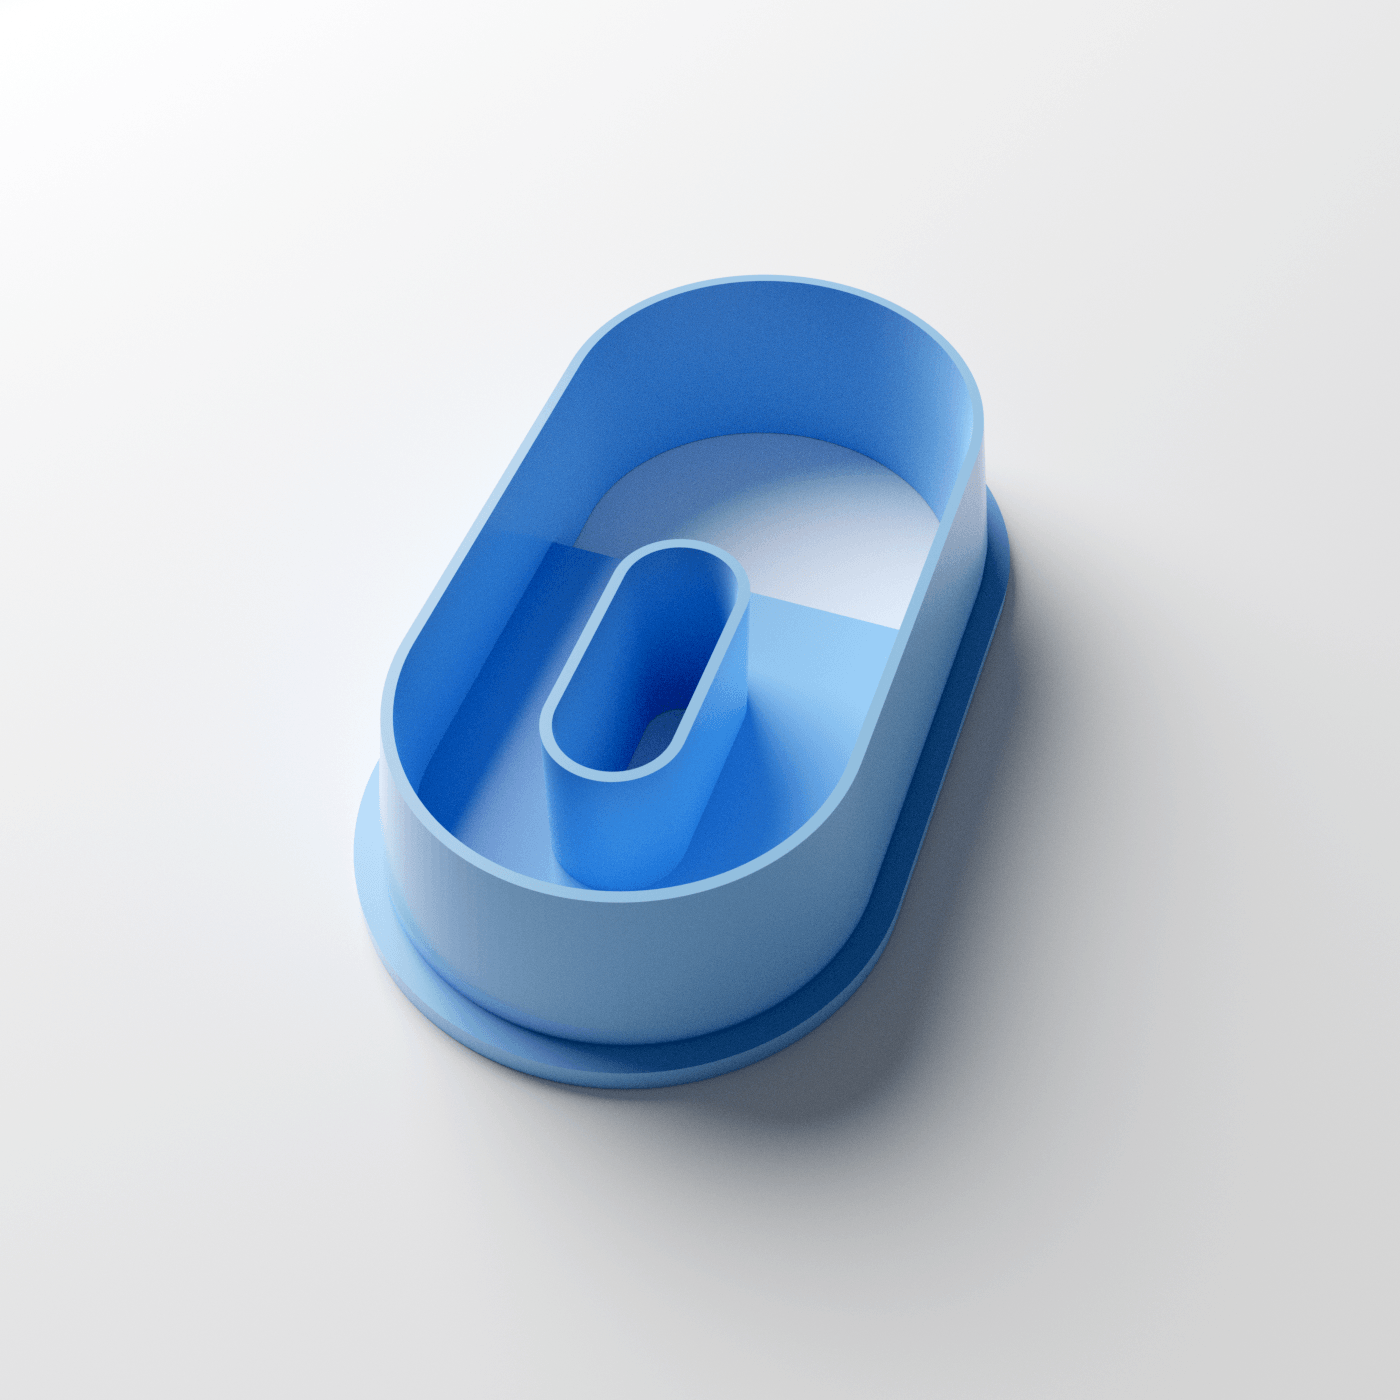


Oval Link Starter Cutter
Oval Link Starter Cutter
Cutout Size
~15mm
Width
by
~30mm
Height
Couldn't load pickup availability
Our Process
Our Process
Hand-designed and printed in our home studio in Brunswick East, Melbourne. These cutters are designed for clay makers and crafters. They are 3D printed using PLA (a biodegradable and biocompatible plastic made from renewable resources).
Product Care
Product Care
PLA softens at high-temperatures, so avoid exposing to direct sunlight, and avoid high temperatures like boiling or very hot water.
These cutters are not dishwasher or oven safe. To clean your cutters, wash them gently under soapy lukewarm water. To remove any clay stuck in narrow edges, use a toothpick, X-acto knife, or toothbrush. Do not stress product beyond intended use. Do not apply horizontal pressure.
Product Photography
Product Photography
Please note product photos are rendered images and should be considered as an accurate representation of the items shape only.
Actual products are 3D printed with either an FDM filament printer or SLA resin printer and will have layer lines and potentially small imperfections or artefacts left by the printing process.
Items are quality checked and any deemed of unacceptable are removed from stock and put into misprints packs.
Tips
Tips
For best results, work and cut your polymer clay on a ceramic or glass tile.
For cutters with embossing details:
The embossed elements work best on clay that has been rolled out to 3-4mm thick.
We recommend using corn flour/baby powder on cutters to stop the clay from sticking to the cutter. Place cutters on polymer clay and press with firm and even pressure. Once the cutter has reached your working surface, gently jiggle the cutter while pressing down to ensure that the clay has separated completely. Remove cutter from the top edges.
For uneven designs, gently lift the bigger side first and slowly angle up until your cutter is completely off the clay.
Due to the nature of 3D printing, some tiny bumps may be present on the cutters where the filaments join. The marks of the bumps are very light and can be easily removed from the clay before or after curing.